Be the first to comment.
| Working with Bookmarker and Greeting Card Printables: Part 101 |
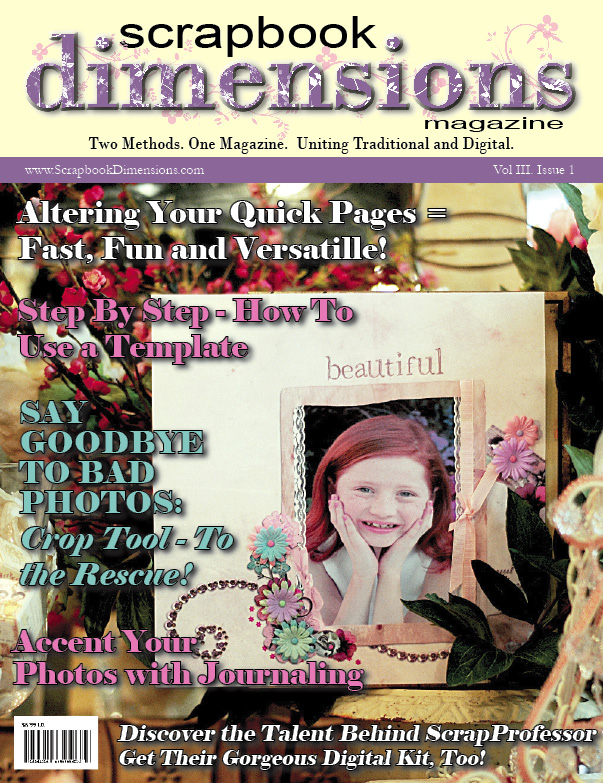
| Written by Joli Kirk, Contributing Editor | ||||||||||
|
{JCSBOT SUBSCRIPTION=10,13,16,21,22,23} T his is my first article for Scrapbook Dimensions Magazine and I want it to be a good one that covers the basics for both beginners and advanced users. Therefore, Ive created two parts to this article a 101 and a 102 series. Do one or both of them and have fun.I primarily use Paint Shop Pro Version 8 when designing and thats what Ill be using while I teach you the techniques for these projects. As long as you have a basic understanding of your preferred graphics program, you can certainly use it to achieve the same effects. 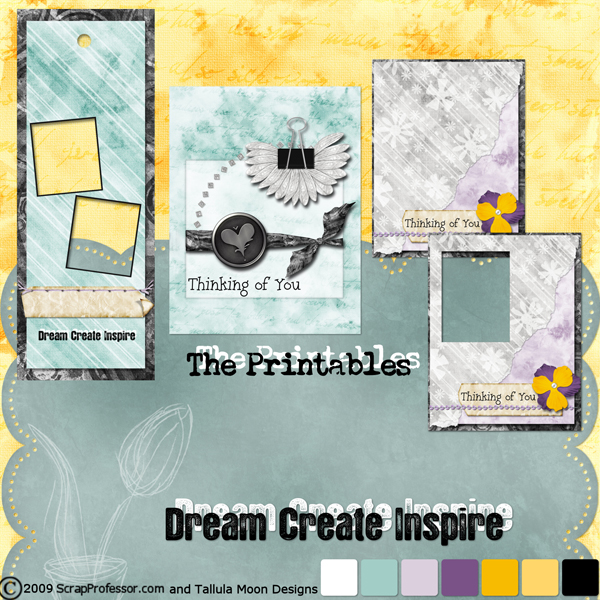 Kelli (Tallula Moon Designs) and I (ScrapProfessor) created a freebie kit for this issue of the magazine. Its called Dream. Create. Inspire. Included with the kit are some printables. You will find a bookmarker printable and some greeting card printables. In Part 101 of this article I will show you how to use the printables "as is" and also how to customize them to fit your needs. In Part 102 of this article, Ill show you how to turn the printables into templates so you can create your own bookmarkers and greeting cards with other kits. How cool is that! BOOKMARKER PRINTABLES 101:First thing you want to do is download the Dream. Create. Inspire. Kit from this issue of the magazine and unzip the files and organize them so they work best for you. Get it HERE.Using the graphics program of your choice, lets start working with the bookmarker printable. I'm using Paint Shop Pro.
In Figure 2 Ive selected my square selection tool. The keyboard shortcut for the square selection tool is simply the S key on your keyboard. Making sure youre on the right layer (the layer that overlaps) and using your selection tool, draw just around the overlap.
Figure 3 shows my selection. You can see it clearly because the marching ants have appeared where Ive selected. Once youve got the part you want gone selected, hit the delete key on your keyboard and it will go bye-bye, making sure not to confuse it with the backspace key. If you make a mistake, hit your undo button (a favorite button of mine) and then repeat the process until you get it right. Zoom in if you have to.
Next well generate some ideas using the Greeting Card Printables. | ||||||||||
Also included are three .png format cards which are print ready. They are designed to be printed (in landscape mode) onto 8.5 x 11 acid free cardstock, cut out, folded in half, and are then ready for you to add your personal message inside. They look like this (note: Ive included a border around these cards so you can see how they look):
All the cards are designed to fit inside envelopes that measure 4-3/8 x 5-3/4. These envelope sizes are readily available at print/copy stores, your local Michaels store, or at any office supply store such as Staples or Office Depot. I buy mine as linen envelopes in bulk from a paper store. This saves a lot of money in the long run.
DIRECTIONS:
- Using the same methods as you learned in the Bookmarker Printables 101 section of this article you can apply the same methods to your cards to create a custom look.
- Pick your design.
- Open the card into your favorite graphics program (such as Paint Shop Pro or Photoshop).
- Print onto acid free paper. If you choose the third design shown (the one with the photo insert) you should also open the photo or your choice or a graphic image.
- Copy your photo or graphic and paste behind the card front.
- Crop and align as desired.
- Save your image AS a jpg image (be sure you choose save as so you dont ruin your original!), then print onto acid free cardstock.
- Using your paper trimmer, cut the card out, fold where it should be folded.
- Write your message inside the card.
- Add any extra embellishments you want included on your card (such as ribbons or metals).
- Put your card inside your envelope and deliver or mail!
Making cards is FUN and they are always treasured by those who receive them from you.
Click HERE to go to Part 201.
I am here to help you along the way. Dont forget to contact me (contact details at the end of this article) if you need help in any degree. I succeed when you succeed.
THANK YOU!
KEYBOARD SHORTCUTS LEARNED IN THIS ARTICLE:
For any articles I write for Scrapbook Dimensions Magazine, you will see a keyboard shortcut guide at the end which indicates all the keyboard shortcuts Ive used throughout the lesson(s). You could easily write them down and start a master list to refer to when youre working on your own later. I am a firm believer in keyboard shortcuts and I use them all the time in Paint Shop Pro.
SHIFT + D = Duplicate Image
CTRL + C = Copy Image
CTRL + L = Paste Image as a New Layer
CTRL + S = Save
SHIFT + H = Hue/Saturation/Lightness
CTRL + E = Paste as New Selection
CTRL + V = Paste as New Image
M = Move Tool
S = Square Selection Tool
CREDITS:
All the printables this month were created using the Dream. Create. Inspire. Kit created by ScrapProfessor and Tallula Moon Designs who both design at ScrapProfessor.com.
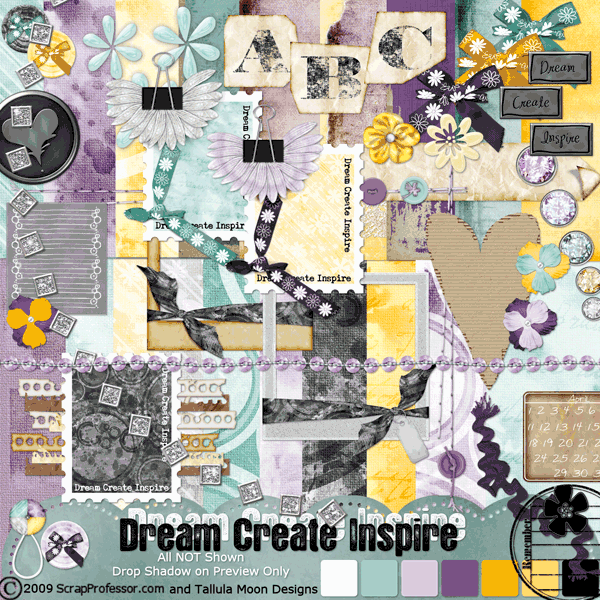
The kit is FREE with this issue of Scrapbook Dimensions Magazine so be sure you download the kit.
QUESTIONS?
Is there something youre confused about? Something youre not clear on? I am happy to help answer your questions. Simply send an email to me, Joli at the following email address:
This e-mail address is being protected from spam bots, you need JavaScript enabled to view it I respond to all emails as quickly as humanly possible.
» Comment here!
» Post Comment
Only registered users can write a comment.
Please login or register.
Please login or register.
| < Prev | Next > |
|---|