|
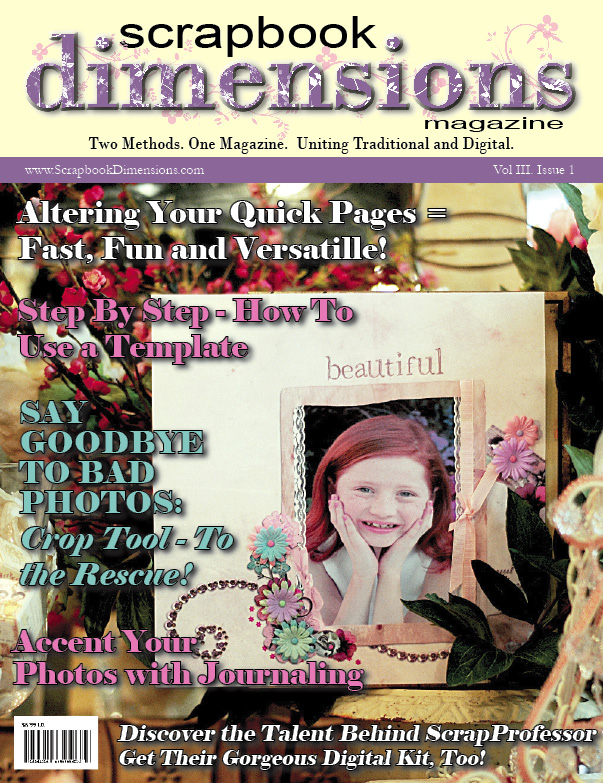
Blended Photo Technique Using Templates |
|
Written by Kelli Vander Veen - Contributing Editor
|
{JCSBOT SUBSCRIPTION=10,13,16,21,22,23}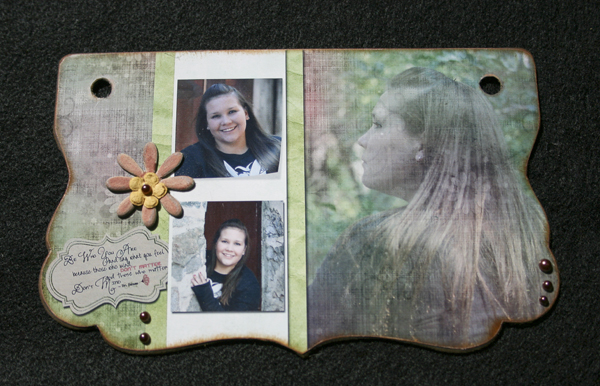
F
or my first project with Scrapbook Dimensions Magazine, I thought I would go through some of the things I do to create a unique page for my hybrid albums. I love using page maps to create a starting point for my page, but I usually end up putting my own spin on them and getting something much different than what I started with.
One of my favorite things to do is to take a photo and blend it with a background paper. This is a really great technique if you have a picture that is really great, but came out a little to blurry to use as a printed picture. In the example that I will be showing you, my photo was fine, nice and crisp, but I thought that it would make a perfect background.
- The first thing you want to do is to pick out the type of album you want to use or maybe you want to go with a normal page. Either way, its up to you. For this project, I chose the Abby album by Cosmo Cricket. It has great black pages that make it easy to cover without worrying about the edges being painted or stained first.
- Open your pages template, or a blank document the same size as you will be printing.
- Then open your background paper and drag it over to your template page. Once you have it positioned where where you want it, pressed CTRL+G to create a clipping mask. Then hit CTRL+E to merge the paper with the album template. This wont be necessary if you are making a normal page and not an album.
- The next thing that you will want to do is to bring in the picture that you will be blending with the background. Drag that picture over the top of your page and position it where you want it. This time, I clicked CTRL and then on the box in my layers that held my template which created marching ants around my album page. Click Select/Invert and then click delete. This will create your background paper on its own layer so that you can manipulate the opacity of it.
- I brought the fill of my photo layer down to 52% to make sure that the paper was showing through my photo. You may need to make yours a little more or a little less depending on the photo.
- After youre satisfied with the way the photo looks and the background paper is showing through the way you like, take a large, soft eraser brush about 300 pixels and start away from the photos subject. I started on the upper left side of the photo and started erasing until I was happy with the way it looked. This does a couple of things. It makes the background paper stand out on one side and by using a soft brush to erase with, makes the edge of the photo blend.
- Once I have finished blending, and the photo shows the way I want it too, I start to add the rest of my elements to the page. Remember to make a drop shadow on each of the elements that you choose to print on the page otherwise, it will look flat when you add your other embellishments.
Now Im ready to print and start putting my page together.
- Once I have my printed page, and my album, I start getting out the embellishments that I think I might use. I usually go overboard putting things out, but it makes it easier when I am assembling to have all kinds of different pieces to use.
- Cut your page so that it fits to your album and glue it with your favorite adhesive. Usually at this point, I have to trim a little here and there. Once you have your photo glued to your album page, you can either start to embellish, or sand the edges. I usually sand around all the edges and then ink them to give it a little more blended look. Its just my preference, and you should do what works the best with your page.
- I try not to take too much off so that its not overdone and I dont end up with a lot of the white paper showing through.
- Once I finish sanding and inking, I start laying out my embellishments. When I am happy with the placement, I get everything stuck on and Im done.
Here is my finished product, ready to put into my album.
|
Kelli Vander Veen - Contributing Editor |
| About the author: |
| My name is Kelli Vander Veen and I design under the name Tallula Moon Designs. I have been designing for many years now using Adobe Photoshop CS3 but I also use Photoshop Elements and Paint Shop Pro. I am co-owner of ScrapProfessor.com, YourDigitalDesigners.com, and DigiScrapU.com. I am a total hybrid girl and really look forward to writing articles for Scrapbook Dimensions Magazine.
|
| Read More >> |
» Comment here!
» Post Comment
Only registered users can write a comment.
Please login or register.
|