
Hybrid Dream Mini Album
January 5, 2010 by Angela Hinksman
Filed under Albums, Articles
Did you know hybrid scrapbooking doesn’t have to be complicated? You don’t need lots of fancy equipment. Just a few basic materials and techniques are all you need to make some fabulous projects!
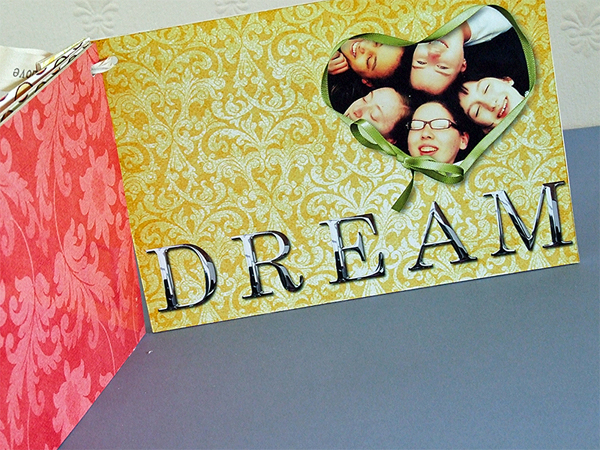
Here I’ve designed a super-easy mini album with my new ‘Feelin’ Colorful’ kit (created exclusively for Scrapbook Dimensions). The album is made up of 5 ‘Quick pages’ and 5 patterned pages. Some of the pages have ‘digital’ holes so that you can slip your own photos in and personalize your album. Download links HERE.
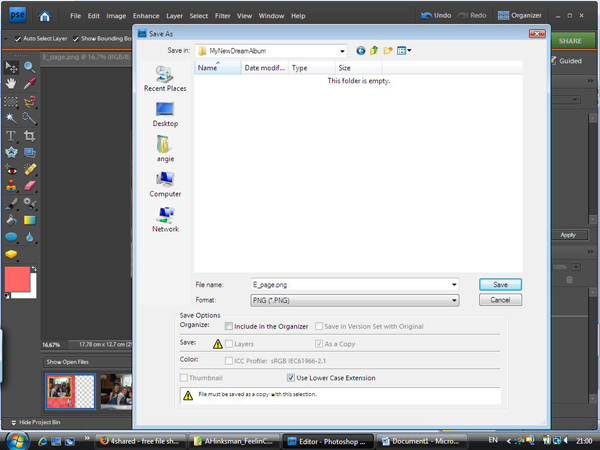
To add my photos, I’ve used Photoshop Elements (Version 7).
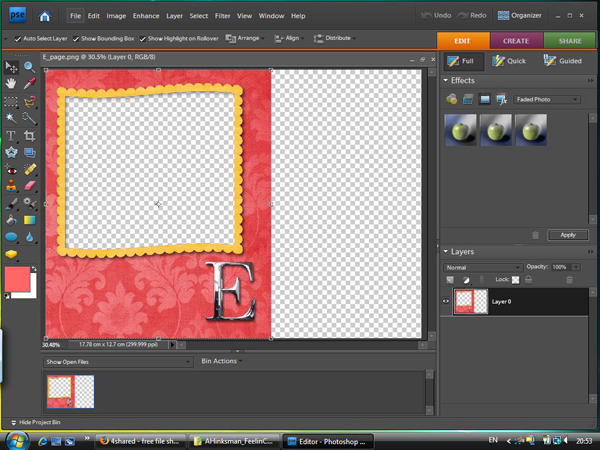
I started by opening my quick pages in PSE.
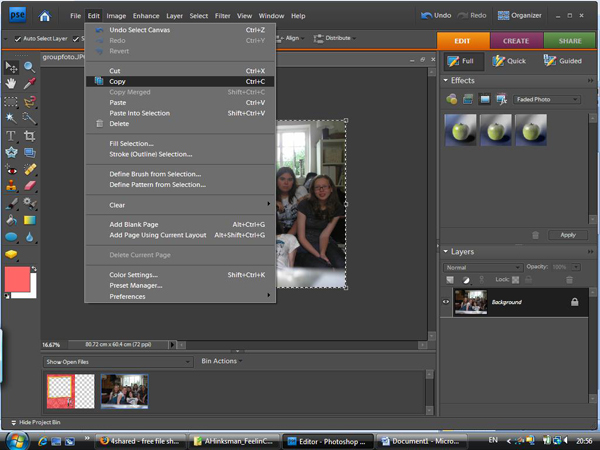
I then opened my photo, made a copy of it (click the Select on the menu then Select All then Copy). I then went back to my Layout and pasted in my photo (click Edit on the menu then Paste).
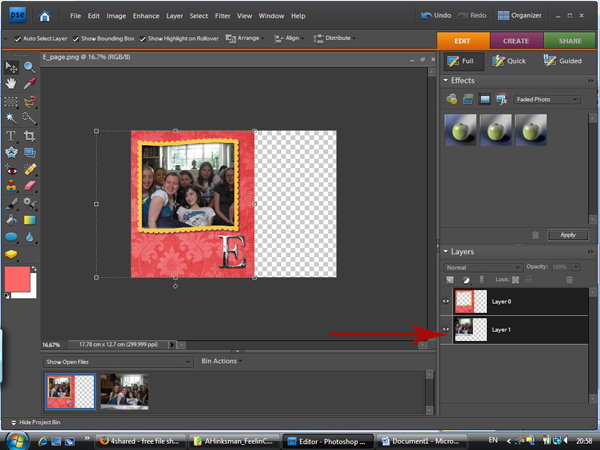
My image was pasted above my Layout layer, so I simply dragged the image so that it was beneath my Layout.
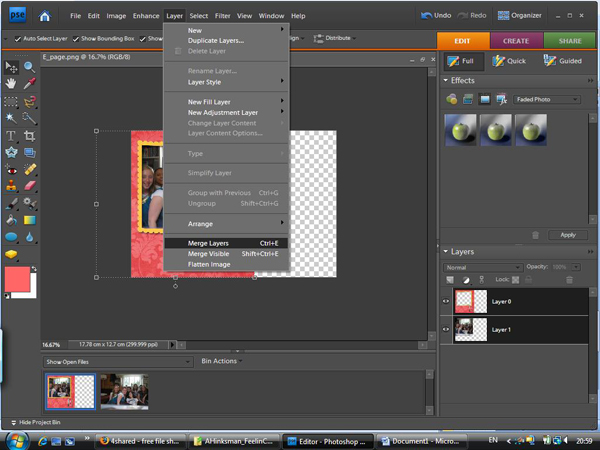
Once I was happy with the position of my photo, I selected both layers (click Select then Select All Layers then click Layers and then Merge Layers). I am then left with one layer.
Happy with my Layout, I then saved my file as a jpeg (I’ve created a new folder to put my finished layouts in so as not to confuse them with my original files!).
I repeated this with all of my layouts and then printed them. I had my layouts printed at my local Kodak kiosk. I prefer to have my hybrid project printed this way. Kodak images are printed with a protective plastic coating which is great for projects like this that get handled a lot!
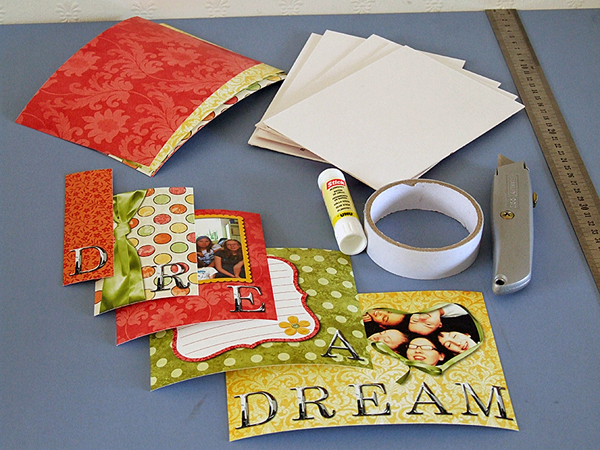
To construct my hybrid mini album, I used the following basic supplies:
- My printed layouts
- Backing patterned pages
- Adhesive (I used a UHU stick and double sided sticky tape)
- A craft knife
- A ruler (I prefer to use a metal rulers for accuracy)
- Thick card or naked chipboard (I have used photographer’s mount board. It is inexpensive, comes in big sizes and goes a long way!).
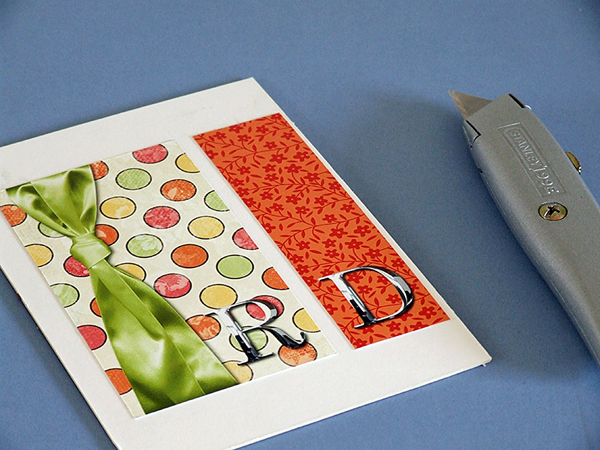
I started by gluing my Layouts to one side of my thick card (I used my craft knife and metal ruler for this).
Once dry, I glued these to my backing papers and once dry, trimmed where needed.
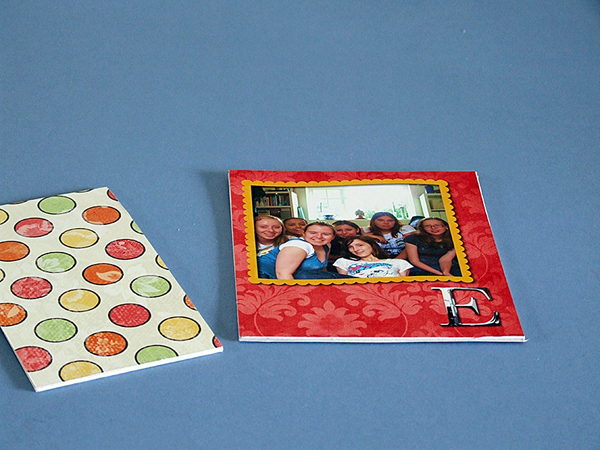
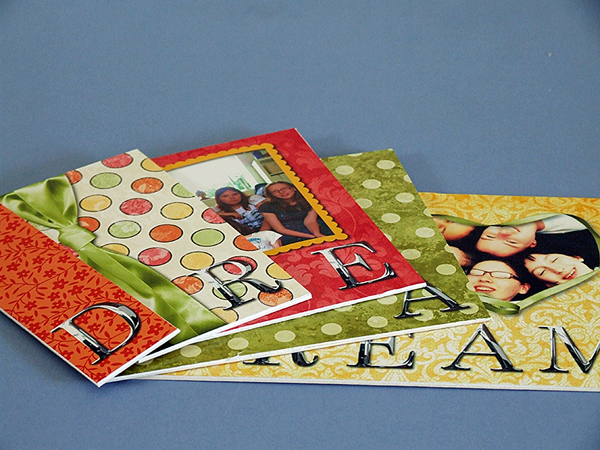
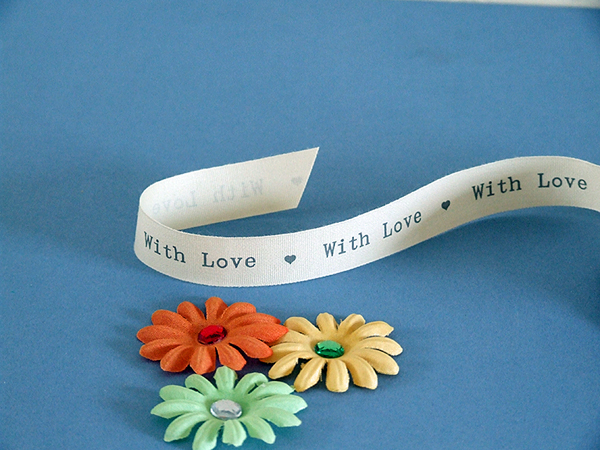
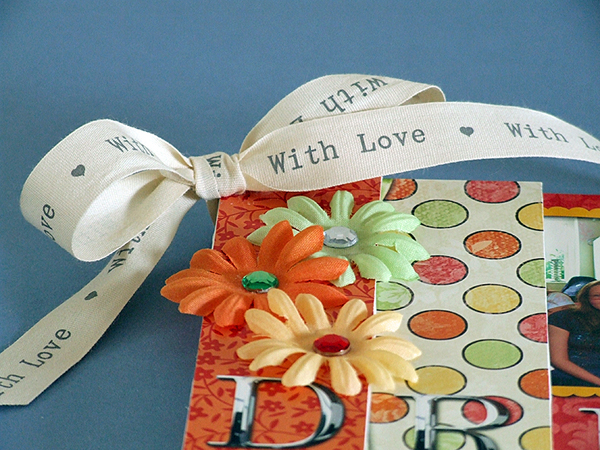
I then had five ‘Dream’ pages, covered back and front. I punched a hole in the top corner of each page and then tied with a ribbon. I finished my album off with some pretty flowers and gems.
So there you have it, a quick and easy mini album!

![]()
 Easy and FREE PrintScreen Program


Facebook comments: